June 1, 2026 • Doug Porter • 9 min reading time • Prices verified June 25, 2026
Before You Scan a Single Frame: Light Boxes and Slide Viewers for Smart Film Triage
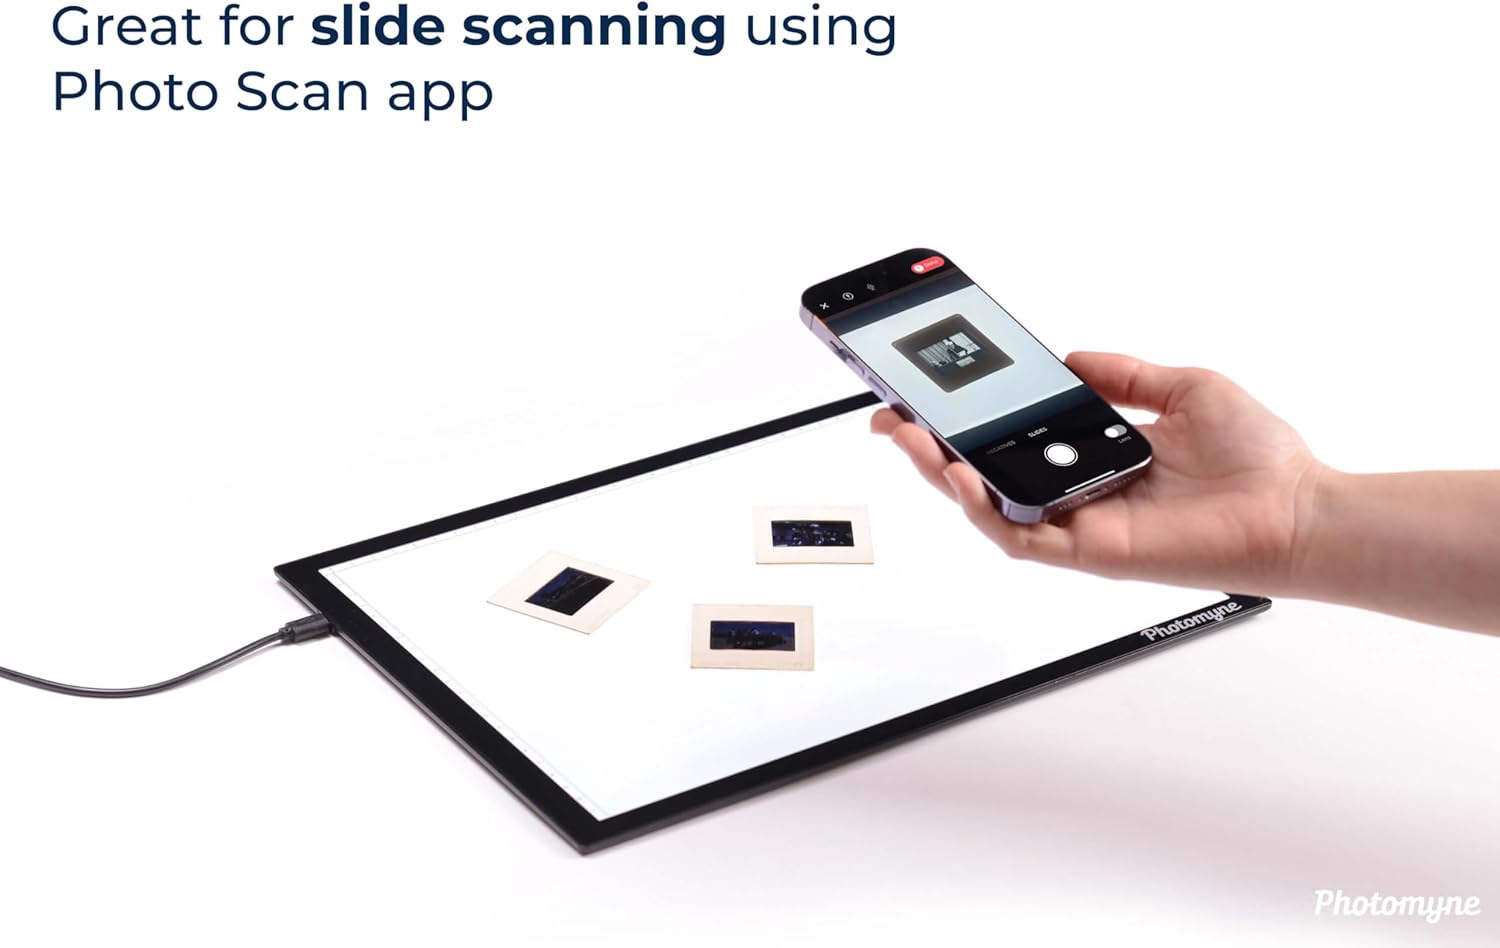
That box of slides you inherited isn’t just a container of plastic and celluloid — it’s decades of irreplaceable moments compressed into two-inch squares. Before you commit those images to a digital archive, there’s a step that experienced digitizers treat as non-negotiable but that most beginners skip entirely: triage. Triage means evaluating your physical film before it ever touches a scanner, deciding which frames deserve full-resolution scanning, which ones are damaged beyond useful recovery, and which are near-duplicates of better shots in the same batch. The tools that make triage possible are deceptively simple — a light box (a flat, evenly illuminated panel that lets you see through transparent film) and a loupe or slide viewer (a small magnifying lens, sometimes with its own built-in light, that brings fine detail into focus). Neither costs much. Together, they can save you dozens of hours and hundreds of gigabytes of unnecessary storage.
If you’re already running a digitization workflow — whether that’s a dedicated flatbed like the Epson Perfection V850 Pro or a mid-range Plustek OpticFilm — this article is the upstream decision layer you may have been skipping. The triage step is where scan quality is actually determined, not in the software.
Why Triage Before Scanning Is a Force Multiplier
Here is the math that converts skeptics. A typical carousel of 80 Kodachrome slides from the 1970s takes roughly 12–15 minutes per tray to scan at 2400 dpi on a flatbed scanner, including loading, preview, and final capture — that’s per B&H Photo Video’s published workflow estimates for the V850 Pro. At 4000 dpi on a dedicated film scanner like the Plustek, individual frames take 3–6 minutes each. An unvetted carousel of 80 slides at 4 minutes per frame is over five hours of scanning time, plus post-processing.
By the numbers:
| Scenario | Frames | Avg. scan time | Total scan time |
|---|---|---|---|
| Scan everything, 80-slide carousel | 80 | 4 min | 5 hr 20 min |
| Post-triage (30% culled) | 56 | 4 min | 3 hr 44 min |
| Post-triage (50% culled — duplicates, destroyed frames) | 40 | 4 min | 2 hr 40 min |
That 50% cull scenario isn’t pessimistic. Filmscanner.info’s inspection workflow notes suggest that in a typical inherited collection, 30–50% of slides are either near-duplicate exposures, technically destroyed (fungus, severe emulsion damage), or so underexposed they contain no recoverable shadow detail. Scanning them anyway isn’t preservation — it’s hoarding.
Storage math compounds the point. A 4000 dpi scan of a 35mm slide produces a TIFF file in the 100–180 MB range. Scanning 80 frames blindly generates 8–14 GB per carousel. Triage that carousel down to 40 keepers and you’ve halved your storage footprint before you’ve opened Photoshop.
The Library of Congress Preservation Directorate’s guidance on caring for photographic collections explicitly recommends physical inspection before digitization, noting that identifying unstable materials (nitrate, acetate base degradation) before scanning protects both the collection and the equipment.
What to Look For During Triage — and What Your Tools Need to Show You
A light box and loupe aren’t just “nice to have” — they let you make five specific decisions that a scanner cannot make for you:
1. Emulsion condition. Fungal haze (a milky, web-like surface growth) scans as unrecoverable midtone fog. Severe emulsion separation or ferrotyping (a mirror-like sticking on print surfaces, though less relevant for slides) signals physical damage. These frames are candidates for professional conservation assessment, not routine scanning. The Society of American Archivists’ photograph preservation guidelines distinguish between “stable deterioration” (color shift, fading) that scanning can address and “active deterioration” (fungal, chemical) that scanning can only document.
2. Color cast character. This is where film-stock knowledge earns its keep. Under a daylight-balanced light box — and this matters: the color temperature of your light source changes what you see — Kodachrome slides from the 1970s–80s typically show a cyan shadow shift as the yellow dye layer fades. Ektachrome from the same era trends toward magenta. If you can identify the cast before scanning, you can batch-correct in Lightroom or Capture One with a single profile rather than frame-by-frame correction. Luminous Landscape’s film scanning workflow documentation notes that pre-scan color assessment dramatically reduces correction time in post.
3. Near-duplicate culling. Photographers shot bracketed exposures constantly. Three frames of the same subject at slightly different exposures look nearly identical on a contact sheet but will consume 450 MB of storage scanned individually. Under a loupe at 8–10x magnification, the sharpest frame is usually obvious.
4. Orientation and sequencing. Sorting slides into chronological or thematic order before scanning saves you the much more painful task of reordering 400 TIFF files in a DAM (digital asset management) application later.
5. Format identification. A mixed collection might contain 35mm slides, 127-format slides, and medium-format transparencies all in the same shoebox. Identifying formats during triage lets you configure scanner film holders correctly and batch similar formats together — eliminating the setup switching that quietly kills a workflow’s momentum.
Choosing a Light Box: The Specs That Actually Matter
The light box market in mid-2026 ranges from $20 LED drawing tablets to $400+ professional illuminators. For film triage specifically, three specs determine whether a panel is useful or misleading:
Color temperature and CRI. Film triage requires a daylight-balanced light source — 5000K to 5500K is the professional standard for viewing transparencies. Color Rendering Index (CRI) measures how accurately a light source renders colors compared to natural daylight; a CRI of 90 or above is the threshold where color assessment becomes trustworthy. B&H Photo Video’s light box buyer’s documentation identifies CRI 90+ as the minimum for color-critical film evaluation. Budget panels often ship at 6500K (blue-white, which skews color perception) with CRI ratings that aren’t disclosed — that’s a red flag.
Luminance uniformity. A hot center with dim edges — common in cheap LED panels — means a frame positioned at the corner looks different from one in the center. For triage purposes, this is acceptable as long as you’re consistent. For critical color evaluation, uniformity matters more. Manufacturer-rated uniformity above 90% is the threshold worth seeking.
Surface area. A 5x7-inch panel handles a single 35mm strip or four mounted slides at once. An A4-sized panel (roughly 8x12 inches) lets you lay out an entire 36-exposure strip or a full row of mounted slides side by side — which is where you actually gain triage speed. If you’re processing carousels or binders of mounted slides, the smaller format creates a bottleneck.
For most intermediate digitizers, the sweet spot is an A4 LED panel with CRI 90+, 5000–5500K, and a dimmer control. Dimmer control matters: evaluating dense transparencies (well-exposed slides with rich shadow detail) requires more brightness than evaluating thin or faded frames.
Loupes and Slide Viewers: Magnification vs. Convenience
A loupe (pronounced “loop”) is a precision magnifying lens designed to be held directly against a light box surface. A slide viewer is a self-contained device with its own light source and a fixed viewing aperture — you insert a mounted slide and look through the eyepiece. Each format has a distinct role in a triage workflow.
Loupes for light box use give you variable coverage: a 4x loupe surveys a full 35mm frame quickly; an 8x or 10x loupe resolves grain, confirms focus, and reveals fine emulsion damage. Photographers working with medium format film often use a 4x as a general triage tool and a 10x for suspect frames. Imaging Resource’s coverage of film scanning resolution notes that at 4000 dpi, a scanner resolves detail that the naked eye cannot see on a light box — but that doesn’t mean the loupe step is irrelevant. It resolves different information: physical surface condition, fungal haze, and sharpness comparisons that a scanner preview doesn’t show until you’ve already committed the scan time.
The tradeoff: loupes require a separate light box, and using both hands simultaneously (loupe plus film strip) is awkward without a third hand or a film strip holder. A simple anti-static film holder strip (available from most photography supply retailers) eliminates this problem.
Slide viewers are faster for mounted 35mm slides specifically. You load a slide, hold the viewer to ambient light or a built-in LED, and evaluate in five seconds. Owners of collection-style viewers — the kind that accept a standard Kodak carousel slide — report that moving through 80 slides takes under 15 minutes in a triage pass. The limitation is format lock: a viewer designed for 35mm mounted slides doesn’t help with strips, medium format, or 127-format transparencies.
The professional recommendation from archivists and filmscanner.info’s workflow documentation is to own both: a slide viewer for rapid first-pass culling of mounted collections, and a quality loupe for detailed second-pass inspection of candidates.
The Decision Framework: If X, Then Y
If you’re processing a single inherited collection of 100–300 mounted 35mm slides and don’t plan to do this again, a self-contained slide viewer at the $30–60 price point solves your triage problem completely. The tool earns back its cost in the first carousel.
If you’re running a recurring workflow — family historian, semi-pro lab, estate service — invest in an A4 CRI 90+ light panel and a quality 8x–10x loupe. This combination handles every film format you’ll encounter, scales to medium format, and gives you the surface-detail visibility that a slide viewer’s small aperture can’t provide. Budget: $80–150 total for a solid panel-plus-loupe setup.
If you’re operating at the professional end — boutique studio, museum digitization team — the light box investment is trivial relative to scanner costs, and the triage step is where you protect your $900+ scanner from emulsion contamination and your post-processing time from unsalvageable frames. At this level, a professional 5000K viewing station with standardized illumination (per the Society of American Archivists’ guidelines for consistent color evaluation environments) is the correct specification, not a drawing tablet. The Library of Congress Preservation Directorate’s standards for photographic inspection are worth reviewing as a baseline for institutional workflows.
The frame to hold onto: a scanner’s job is to faithfully reproduce what the film contains. A light box and loupe’s job is to decide whether what the film contains is worth reproducing at all. Get the second step right first, and the first step rewards you with a cleaner archive, fewer wasted hours, and the confidence that what you’ve preserved was worth the effort.