May 19, 2026 • Doug Porter • 11 min reading time • Prices verified June 25, 2026
DSLR and Mirrorless Film Copying: The JJC ES-2 Style Adapter Deep Dive
That box of slides or bag of negatives sitting on your desk represents something irreplaceable — and if you already own a modern mirrorless or DSLR camera, you may be closer to a high-quality digitizing solution than you think. Camera-based film copying is the practice of photographing film frames — negatives or slides — through a macro lens (a lens designed for extreme close-up work) rather than passing them through a dedicated scanner. The film is backlit by a light source, and the camera captures the image directly. The appeal is straightforward: your camera’s sensor is already capable of resolving enormous detail, and the total cost of entry can be well under $150 if you only need to add a film-copying adapter — the simple tube-and-film-holder assembly that holds your negative flat at the correct distance from your lens. The JJC ES-2 style adapter is the most-discussed product in this category right now. This article breaks down exactly who it serves well, where it falls short, and how to decide whether it belongs in your workflow.
What the JJC ES-2 Style Adapter Actually Is — and What It Isn’t
The Nikon ES-2 Film Digitizing Adapter was Nikon’s own solution: a dedicated holder that attaches to a Nikon 60mm macro lens and lets you copy 35mm film frame-by-frame. JJC and several other third-party manufacturers produce functional equivalents — the JJC ES-2 style adapter family — that attempt to broaden compatibility beyond Nikon glass.
The keyword there is attempt. As documented in B&H Photo Video’s film digitizing accessories listings and the buyer commentary aggregated there, the single most-reported pain point is lens fit. The adapter mounts to a 62mm filter thread (the threaded ring on the front of your lens), and the spacing between that thread and the film plane is engineered for a specific focal length — originally the Nikon 60mm macro, which achieves 1:1 magnification (meaning the film frame fills the sensor at its actual size) at a predictable working distance.
One frequently documented buyer experience: a photographer purchased a standard JJC ES-2 style variant expecting to use it with a Canon 50mm macro and returned it after finding the geometry wrong — the Canon lens reaches 1:1 at a slightly different working distance, throwing off the focus at the designed film-holder position. A separate buyer documents that a different JJC variant does work with the Canon EF 50mm f/2.5 Compact Macro when paired with its life-size converter — the converter shifts the focal length math just enough to land in the adapter’s designed range. This is not a small caveat. If you’re buying without confirming your specific lens, you’re gambling.
Note on product variants: The JJC ES-2 style line includes multiple variants distinguished by internal tube length and filter-thread sizing. Never purchase by a bare product code alone — confirm the variant’s stated target lens against your own glass before ordering. Eyesen — $22.99
The practical compatibility checklist, based on published specs and reviewer patterns:
| Lens | Compatibility | Notes |
|---|---|---|
| Nikon AF-S 60mm f/2.8G Micro | Reference design | Engineered for this lens |
| Canon EF 50mm f/2.5 Compact Macro + life-size converter | Compatible (converter required) | Converter shifts focal math into range; crop factor applies on APS-C |
| Sony / Rokinon 100mm macro (full-frame mirrorless) | Requires 62mm step-up ring | Working distance must be verified independently |
| Canon 50mm macro without converter | Not recommended | Returns documented at B&H Photo Video listings |
The Sony a7R pairing with a 100mm macro lens is worth dwelling on. Reviewers describe this combination as producing a capture in the 60-megapixel range of a 35mm frame — meaning the camera’s full sensor resolution is being used to resolve the film grain itself, not just the image content. As analyzed in Luminous Landscape’s editorial coverage of camera-scanning resolution ceilings, this approaches the practical resolution limit of standard 35mm negative grain for most film stocks. The headline is real: a high-resolution full-frame mirrorless body can outresolve a midrange flatbed scanner at this task.
The Crop Factor Problem and Why It Changes Your Math
If you’re shooting on an APS-C body (Canon Rebel series, Fujifilm X series, Nikon DX cameras — any camera with a sensor smaller than a full 35mm frame), the crop factor matters significantly here. An APS-C sensor is roughly 1.5× smaller than a 35mm film frame. When you photograph a 35mm negative at 1:1 magnification on an APS-C body, the sensor only captures the center portion of the film frame — roughly 67% of the image area.
This isn’t necessarily disqualifying. If your APS-C body has 24+ megapixels and you’re copying 35mm negatives, you’re still capturing more detail than a $300 flatbed scanner will resolve. filmscanner.info’s optical resolution analysis — published under the title “Optical Resolution vs. Interpolated DPI — What Scanners Actually Resolve” — notes that consumer flatbeds typically resolve between 1,200 and 1,800 effective DPI on film despite marketing claims of 4,800 DPI or higher. A 24MP APS-C crop of a 35mm frame at 1:1 lands at approximately 3,000–3,500 effective DPI equivalent, already ahead of the flatbed middle tier.
But for medium format film (120/220 roll film), the math shifts differently, and the JJC adapter isn’t designed for that format at all. Medium format copying requires a different holder geometry entirely.
By the numbers:
- 24MP APS-C at 1:1 on 35mm: ~3,200 effective DPI equivalent
- 45MP full-frame at 1:1 on 35mm: ~5,400 effective DPI equivalent
- 60MP full-frame at 1:1 on 35mm: ~6,300 effective DPI equivalent
- Flatbed consumer optical resolution (per filmscanner.info, “Optical Resolution vs. Interpolated DPI”): ~1,200–1,800 effective DPI
Build Quality, Workflow Durability, and the Honest DIY Case
For single-session copying of 50–100 frames, reviewer consensus suggests the JJC adapter performs without complaint. The plastic construction handles the mechanical task — holding a film strip flat against a diffusion panel — adequately for light duty. Where reviews turn more critical is in sustained batch sessions of several hundred frames, where minor flex in the film holder allows negatives to shift slightly between frames, requiring refocusing. Operators in long-run reviews documented at B&H Photo Video note this as a workflow friction point rather than a product failure.
This is where the “returned it and went DIY with PVC fittings” reviewer deserves genuine weight in your decision. A photographer with basic fabrication skills — comfort with a pipe cutter, sandpaper, and PVC cement — can build a custom film-copying tube sized precisely for their specific lens at under $15 in materials. The tradeoffs are real in both directions:
- JJC adapter: faster to deploy, includes a film-holder with negative strip support, commercially available replacement, no fabrication time
- DIY PVC approach: machined to your lens’s working distance, more rigid, near-zero per-unit cost beyond materials, but requires 2–4 hours of iteration and fit-testing
If you have 500+ frames to copy, or you’re building a semi-professional batch workflow for a lab or estate digitization project, the DIY option is worth investigating seriously. If you want to start digitizing this weekend without a workshop session, the JJC adapter is the rational choice provided your lens is confirmed compatible.
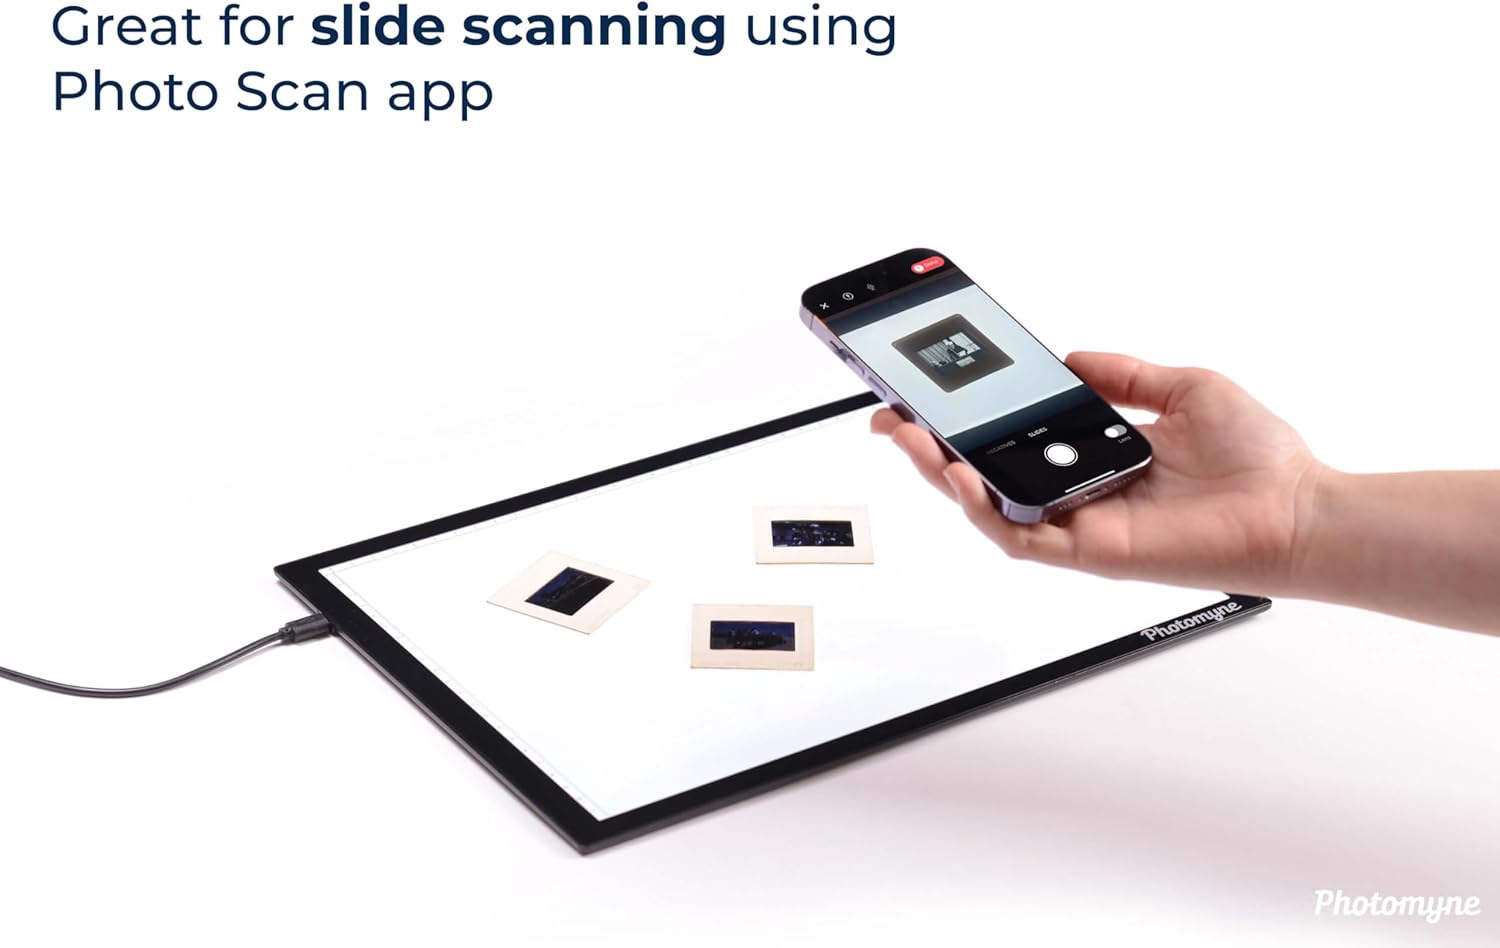
Photomyne
$24.99
In stock on Amazon
Check price on AmazonColor Inversion, Camera Profiles, and the Calibration Layer
Camera-based copying of color negatives introduces a workflow step flatbed scanner software handles invisibly: color inversion. A color negative is physically orange (the orange mask is a built-in color correction layer in color negative film), and your camera captures it faithfully as an orange image. To get a positive image you need to invert the tones and correct for that mask.
The current practitioner standard involves two tools. Negative Lab Pro (a Lightroom plugin) is the most widely documented solution in practitioner-level reviews — it automates the inversion and applies film-stock-aware color correction. DPReview’s editorial coverage of digital camera scanning workflows consistently identifies Negative Lab Pro as the reference tool for this step.
The second layer is camera color science itself. Unlike a scanner with a fixed light source and CCD calibrated to film, your camera has its own color response curve — and it varies between manufacturers and even sensor generations. This is where a color calibration target such as the Calibrite ColorChecker Passport becomes directly relevant. The workflow involves photographing the ColorChecker target under your copying light source, then using a compatible camera calibration plugin to generate a custom DNG camera profile. That profile corrects your specific camera’s color response to a known reference before Negative Lab Pro does its inversion math. Skipping this step isn’t fatal, but practitioners who document the full workflow consistently describe cleaner neutrals and more predictable film stock rendering when the custom profile is in place. For anyone building a repeatable commercial workflow — an independent photo lab, a genealogical archive project — the calibration step is worth the one-time setup time.
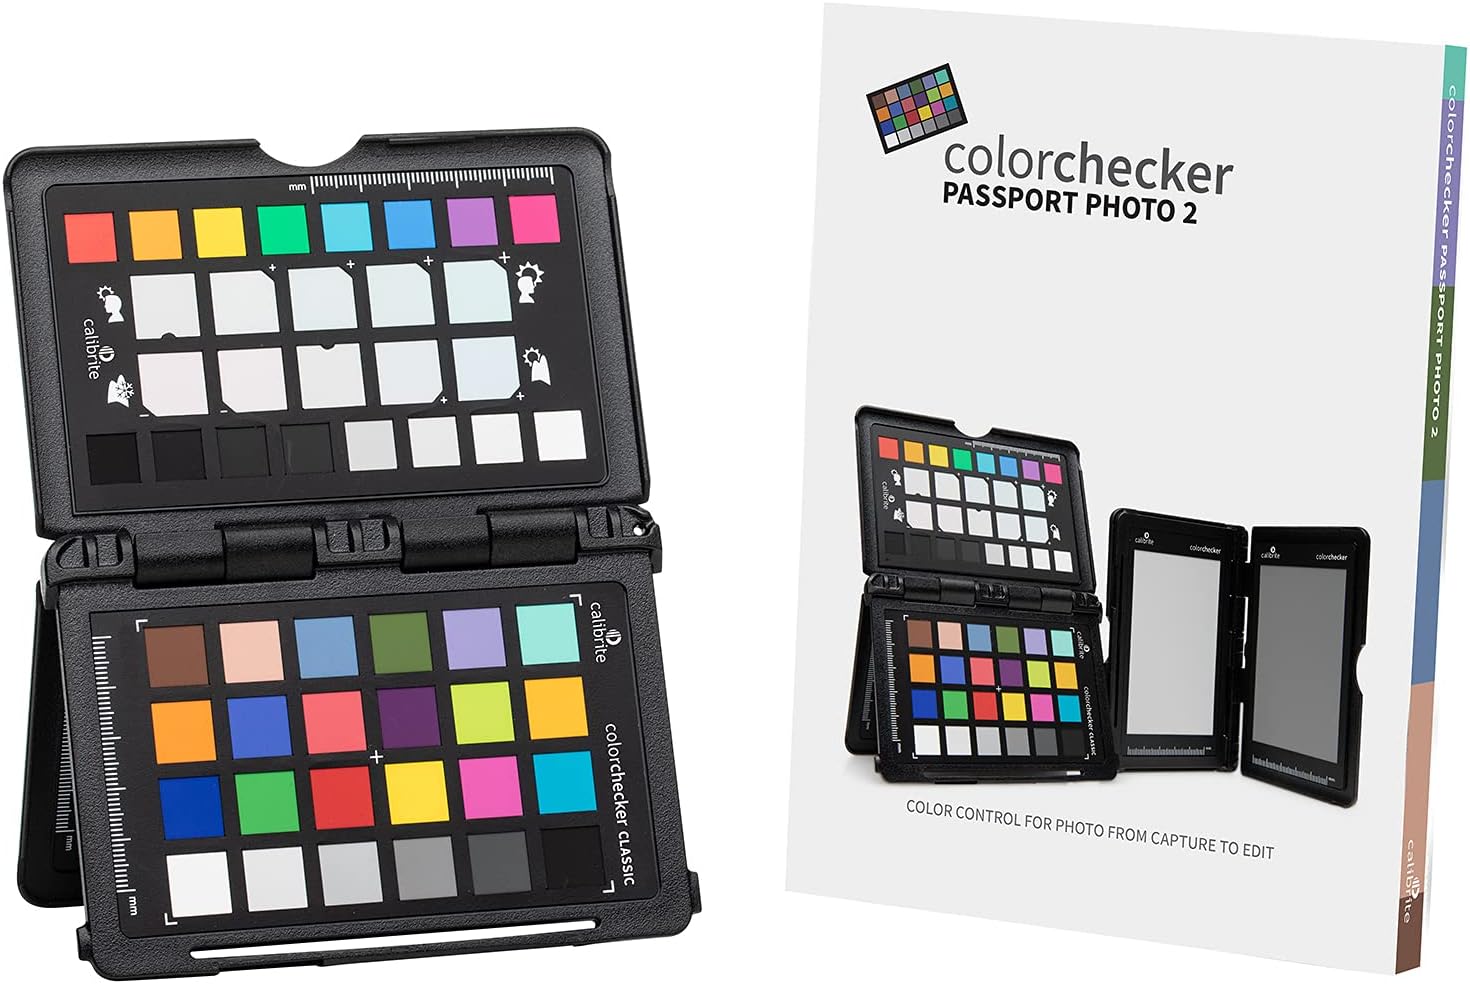
Calibrite CCPP2
$119.00
In stock on Amazon
Check price on AmazonFrequently Asked Questions
Which macro lenses are compatible with the JJC ES-2 style adapters and which are not? The adapter is engineered for lenses that achieve 1:1 magnification at the working distance set by the adapter’s tube length. The Nikon AF-S 60mm f/2.8G Micro is the reference lens. The Canon EF 50mm f/2.5 Compact Macro works with certain JJC variants only when the optional life-size converter is attached. Canon 50mm macro without the converter does not reach 1:1 at the correct distance. Longer macro lenses (90mm, 100mm) generally require a step-up ring to match the 62mm thread and must be distance-verified independently before purchase.
Do I need a dedicated light pad or can I use a window or lamp as a backlight? A dedicated LED light pad is strongly recommended. Window light is uneven, color-temperature variable, and changes with cloud cover mid-session. A standard lamp introduces hot-spots through the diffusion panel. A purpose-built light pad — look for D50 or 5000K daylight-balanced models, which are the standard for color-critical work as noted in B&H Photo Video’s film digitizing accessories documentation — gives you consistent, diffuse, color-stable light across every frame.
What camera resolution do I actually need for film copying to exceed a flatbed scanner’s output? Based on filmscanner.info’s optical resolution analysis (“Optical Resolution vs. Interpolated DPI — What Scanners Actually Resolve”), a consumer flatbed resolves approximately 1,200–1,800 effective DPI on 35mm film. Any modern mirrorless or DSLR body with 20+ megapixels will exceed this on a full-frame sensor. On APS-C, 24MP is the practical floor for a meaningful advantage. For results that match or exceed a dedicated film scanner in the mid-range tier, you need 36MP or more on full-frame.
How do I invert color negatives after photographing them with a camera copying adapter? The practitioner standard is Negative Lab Pro (a Lightroom Classic plugin), which handles both tonal inversion and orange-mask correction with film-stock-aware presets. Capture One users have documented workflows using manual curve inversion with custom ICC profiles. Basic inversion using Photoshop’s Invert command will produce a positive image but will not correct for the orange mask, leaving color casts that require substantial manual correction.
Is the JJC adapter build quality sturdy enough for scanning several hundred negatives? For sessions under 150–200 frames, reviewers report no significant issues. For longer batch sessions, minor flex in the film holder and some play in the negative strip guides have been noted in long-run reviews documented at B&H Photo Video. For high-volume batch work of 500 or more frames, either the DIY fabricated approach or a more rigid commercial solution is worth considering.
When does it make more sense to build a DIY slide copier than to buy the JJC adapter? If your macro lens does not match the JJC adapter’s geometry, if you plan to copy more than 500 frames regularly, or if you have basic workshop skills and want a rigid solution sized exactly for your lens, the DIY PVC route is legitimate and well-documented in practitioner communities. If you want to start immediately without fabrication time and your lens is confirmed compatible, the JJC adapter is the faster path.
The Decision Rule
If your macro lens is confirmed compatible — the Nikon 60mm micro, or the Canon 50mm f/2.5 with life-size converter, both confirmed by reviewer documentation aggregated at B&H Photo Video — the JJC ES-2 style adapter is a low-risk, high-value entry point into camera-based film copying that will outresolve a consumer flatbed scanner on day one. Eyesen — $22.99
If you own a Sony full-frame mirrorless body with a 90mm or longer macro lens, the ceiling here is genuinely high. The 60-megapixel-class capture that reviewers describe is achievable and represents a quality level a dedicated film scanner in the $500 range cannot match. The adapter cost is almost irrelevant at that point; the color calibration workflow and Negative Lab Pro setup are the investments that unlock that ceiling. Calibrite CCPP2 — $119.00
If your lens doesn’t match the known-good configurations: solve the compatibility question before purchasing, or budget for the DIY path. As the return record documented in B&H Photo Video’s product listings makes clear, returning an adapter is a time cost that is entirely avoidable with upfront research. Photomyne — $24.99