June 1, 2026 • Doug Porter • 9 min reading time • Prices verified June 25, 2026
Rescuing Home Movies: 8mm and Super 8 Film Digitizing From Frame-by-Frame to Real-Time
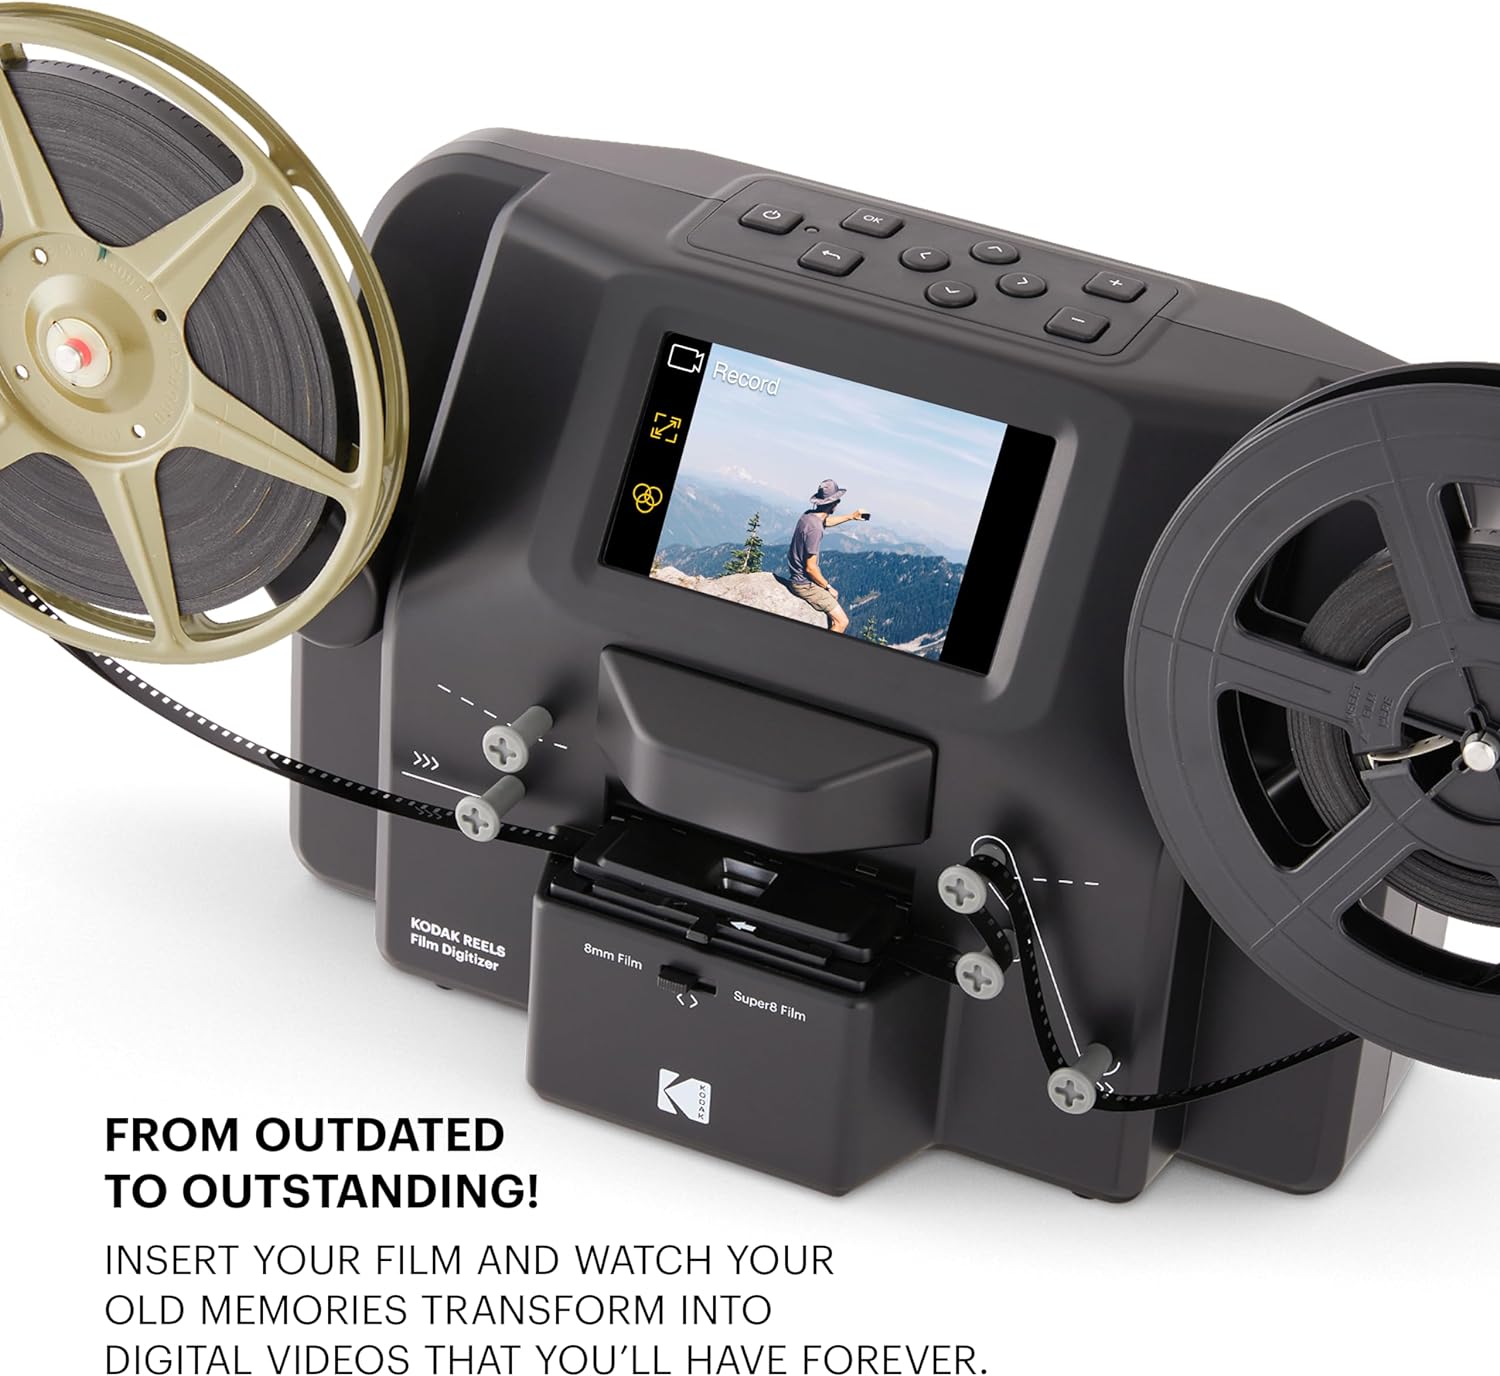
Those reels sitting in a shoebox aren’t just old film — they’re the only moving record that exists of people who may no longer be here. 8mm film (a format introduced in the 1930s and popular through the 1960s) and Super 8 film (a finer-grained, easier-to-load successor released by Kodak in 1965) were the consumer home-movie standards before videotape arrived. Millions of American households shot them; almost none digitized them properly. The film itself is fragile — nitrate and acetate bases shrink, grow brittle, and shed vinegar-smelling acetic acid as they degrade. Every year you wait, the image layer on those reels is fading or physically flaking. This guide gives you a clear-eyed comparison of every digitization path available as of mid-2026: what the methods actually capture, what they cost, and which one fits your situation.
The Core Decision: Frame-by-Frame Scanning vs. Real-Time Capture
Before you spend a dollar, you need to understand why this choice matters more than any specific product.
Real-time capture is what the cheap services and consumer gadgets use. The film runs at its original frame rate (typically 16–18 fps for 8mm, 18 fps for Super 8) in front of a camera or sensor. It’s fast — a 50-foot reel runs through in about three minutes — but the motion creates blur in individual frames, and you’re capturing at whatever the camera’s rolling-shutter speed allows. The output looks fine on a TV. Enlarged for archival printing or color-grading work, it falls apart.
Frame-by-frame scanning steps the film one frame at a time, illuminates it with a steady light source, and captures each frame as a still image. No motion blur. No rolling-shutter artifacts. Each frame gets the full sensor resolution. A 50-foot Super 8 reel has roughly 3,600 frames; at a production-grade scanning speed, that takes 20–40 minutes. The output is an image sequence (TIF or DNG files) or a ProRes/RAW video file that holds far more color and detail than anything real-time can deliver.
The gap between these methods is the gap between a VHS dub and a proper scan. If the footage matters, frame-by-frame is the correct answer.
The Four Approaches, Ranked by Output Quality
1. DIY Telecine with a Modified Flatbed or Macro Rig
This is the enthusiast path that occasionally produces spectacular results. The general approach: a light source (an LED light box or purpose-built illuminator) shines through the film, and a macro-capable camera captures each frame. Some practitioners use a 3D-printed film gate and a motorized stepper to advance the film; others hand-advance frame by frame.
The ceiling here is genuinely high. A full-frame mirrorless camera with a quality macro lens can resolve more detail from a Super 8 frame than any dedicated consumer scanner. The floor, however, is also very low — inconsistent frame registration, color calibration drift, and a time cost that can exceed 4–6 hours per reel push most people off this path quickly.
Filmscanner.info’s comparison database documents several DIY rigs achieving effective resolutions above 2,000 line pairs per mm on Super 8 negatives — outperforming dedicated consumer digitizers — but notes that repeatability and calibration discipline are the limiting factors for non-experts.
Best for: Technically confident practitioners with a single box of irreplaceable reels who want maximum control and are willing to invest 15–20 hours of setup and calibration.
Not for: Anyone running more than 5–10 reels, or anyone whose workflow needs to be repeatable across client projects.
2. Dedicated Consumer and Prosumer Film Digitizers
Devices like the Wolverine MovieMaker Pro and similar products use a built-in CMOS sensor and a motorized gate to step through the film frame by frame. They’re self-contained: load the reel, press a button, get an MP4 on an SD card. No computer required at the point of capture.
The honest assessment from aggregated owner reviews and published specs: these devices capture at effective resolutions around 1,920×1,080 to 2,560×1,920 depending on the model, and most output 8-bit JPEG-compressed frames internally before encoding to video. The compression and limited dynamic range handling mean shadow and highlight detail is already baked in at capture. Color accuracy is inconsistent — reviewers at B&H Photo Video’s buying guide note that automatic white-balance in this category frequently miscorrects for Kodachrome’s characteristic warm-amber base, requiring manual correction in post.
By the numbers:
- Typical scanning speed: 1–3 fps (frame-per-second), so a 50-ft reel takes 20–60 minutes
- Effective output resolution: 1080p–2K equivalent
- Average street price (mid-2026): $150–$300
- Upgrade cost to professional scanning service: $75–$200 per 50-ft reel
These are fine for creating a watchable family archive. They are not adequate for a restoration project where you plan to do serious color grading, noise reduction, or large-format printing of stills.
3. Professional Frame-by-Frame Scanning Services
This is where most intermediate practitioners land for client work or irreplaceable personal footage. Services in this category use Spirit, Lasergraphics, or custom-built scanner platforms that capture at 2K, 4K, or higher resolution with 10- or 16-bit color depth and calibrated light sources.
The Society of American Archivists’ best-practices documentation on digitizing motion picture film recommends a minimum of 2K resolution with 10-bit color depth for archival preservation — and notes that 4K capture “future-proofs” the archive against display technology advances. A 4K scan of Super 8 captures all the grain structure of the original emulsion; you’re not leaving resolution on the table.
What you’re paying for beyond pixels: proper film cleaning before scanning (a wet-gate or ultrasonic clean removes surface debris that shows up as white flecks in consumer scans), steady-frame registration (consistent frame positioning across the entire reel, critical for stabilization in post), and color-correction from a human colorist who understands film stock-specific fade profiles.
Kodachrome, in particular, needs stock-specific handling. Its cyan layer fades faster than red and green, producing the characteristic warm-amber shift you see in 1960s and 1970s home movies. A good scanning house applies a stock-aware starting LUT (a color adjustment preset) before delivering files. A generic “auto-correct” will overcorrect the reds and leave the footage looking bleached. The Library of Congress’s Sustainability of Digital Formats documentation explicitly flags Kodachrome’s differential dye fade as a reason standard scanning profiles are insufficient.
Typical pricing (mid-2026 market):
- Standard 2K scan, per 50-ft reel: $40–$75
- 4K with cleaning and basic color correction: $80–$175 per reel
- Full restoration (color grade, stabilization, noise reduction): $200–$500+ per reel
For practitioners building a client-facing workflow, this is the most defensible recommendation for anything above casual family archive requests.
4. In-House Production-Grade Scanners
At the top end, scanners like the Lasergraphics ScanStation and Moviestuff Retroscan Universal are designed for facilities running dozens of reels per week. These are not consumer products — entry price for a Lasergraphics ScanStation starts above $30,000, and the Retroscan Universal (a more accessible prosumer/pro option) runs approximately $8,000–$12,000 depending on configuration.
The Luminous Landscape’s practical comparison of frame-by-frame capture methods notes that production-grade platforms deliver not just higher resolution but also substantially better gate steadiness — the mechanical consistency that eliminates the frame-to-frame “weave” visible in footage scanned on lighter-duty equipment. For a boutique studio processing more than 100 reels per month, the math on in-house equipment starts to work. Below that volume, outsourcing to a professional service is almost always more cost-effective once you account for equipment amortization, operator time, and maintenance.
The Hidden Costs Nobody Mentions Up Front
Storage: A 4K ProRes 4444 file of a 50-foot Super 8 reel runs 15–30 GB. A 3-hour family archive project — say, 30 reels — generates 450 GB to 900 GB before any working files. Budget for two copies on separate drives plus one offsite or cloud backup, minimum.
Film condition triage: Not every reel can be scanned as-is. Shrunken film (a common result of acetate base degradation) can jam a motorized scanner and tear frames. Before any scanning session, a visual inspection and sometimes a humidity-cycling treatment (a controlled re-humidification process that temporarily restores flexibility to shrunken film) is required. Professional services include this; DIY operators need to learn to spot it.
Splices and damaged sections: Home movie reels were frequently spliced together from multiple shorter rolls. Each splice is a potential jam point and a color discontinuity. A good scanning service flags and handles these; a consumer digitizer may simply jam or tear.
Post-processing time: Even a clean 4K scan of Kodachrome footage will need stabilization and color correction to be presentable. In DaVinci Resolve Studio ($295 perpetual), a skilled colorist can work through a 30-reel project in 15–25 hours. Factor that into any client quote.
If X, Then Y: The Decision Rules
If you have 1–5 reels of family footage and a modest budget: Send them to a professional 2K scanning service. At $40–$75 per reel, you’ll spend $200–$375 and get files that will outlast any consumer device you could buy. Don’t buy a consumer digitizer for a one-time project.
If you’re a family historian or genealogist with 10–50 reels and want hands-on control: A dedicated consumer frame-by-frame digitizer ($150–$300) handles the bulk of your archive at acceptable quality for viewing. For the 5–10 reels with the most irreplaceable content, outsource those to a professional service for 4K treatment. Tiered approach, total budget under $1,000.
If you’re a practitioner building a client workflow processing 20+ reels per month: Establish a preferred vendor relationship with a production scanning service (negotiate per-reel pricing at volume) and own your post-production pipeline in DaVinci Resolve Studio. Your value-add is the color work and the client relationship, not the scanner hardware.
If you’re running a boutique studio at 100+ reels per month: The Retroscan Universal or a comparable prosumer production scanner becomes worth evaluating. Run the amortization math at your actual volume before committing — at 100 reels/month, a $10,000 scanner paid off over 24 months adds $100/reel in fixed cost before labor, which is competitive with outsourcing only if your operator time is already budgeted.
The frames on those reels won’t wait. Film degradation is a physics problem, not a scheduling preference — and the window to capture what’s still there is narrowing every year.